Wednesday, October 19, 2011

#39: Cake Batter Blondies

Oh my goodness. Does this dessert have a story, or what...

Every story has a beginning, and this one starts with me pouring over recipes I found on Pinterest, naturally. Following my birthday last month, I came across this particular dessert recipe, and I knew I needed to try it out. My birthday had already come and gone, so I needed an excuse to make a birthday treat... and who better to try this out on but Midge Baird? She had been such a WILLING and POSITIVE participant in my baking forays earlier this month, plus her birthday fell on October 17th, so I thought what better person to make this for?

So here is where the story gets interesting. Several weeks ago, Stephen had mentioned that his sisters were planning on having a SURPRISE birthday dinner for their mother this last weekend. I knew this dinner would be a great time to spring the blondies on Mothers Baird, so I showed up on Saturday night with a bag full of birthday presents on one arm, and a pan of these cake batter blondies on the other. Little did I know the surprise would be on me that night...

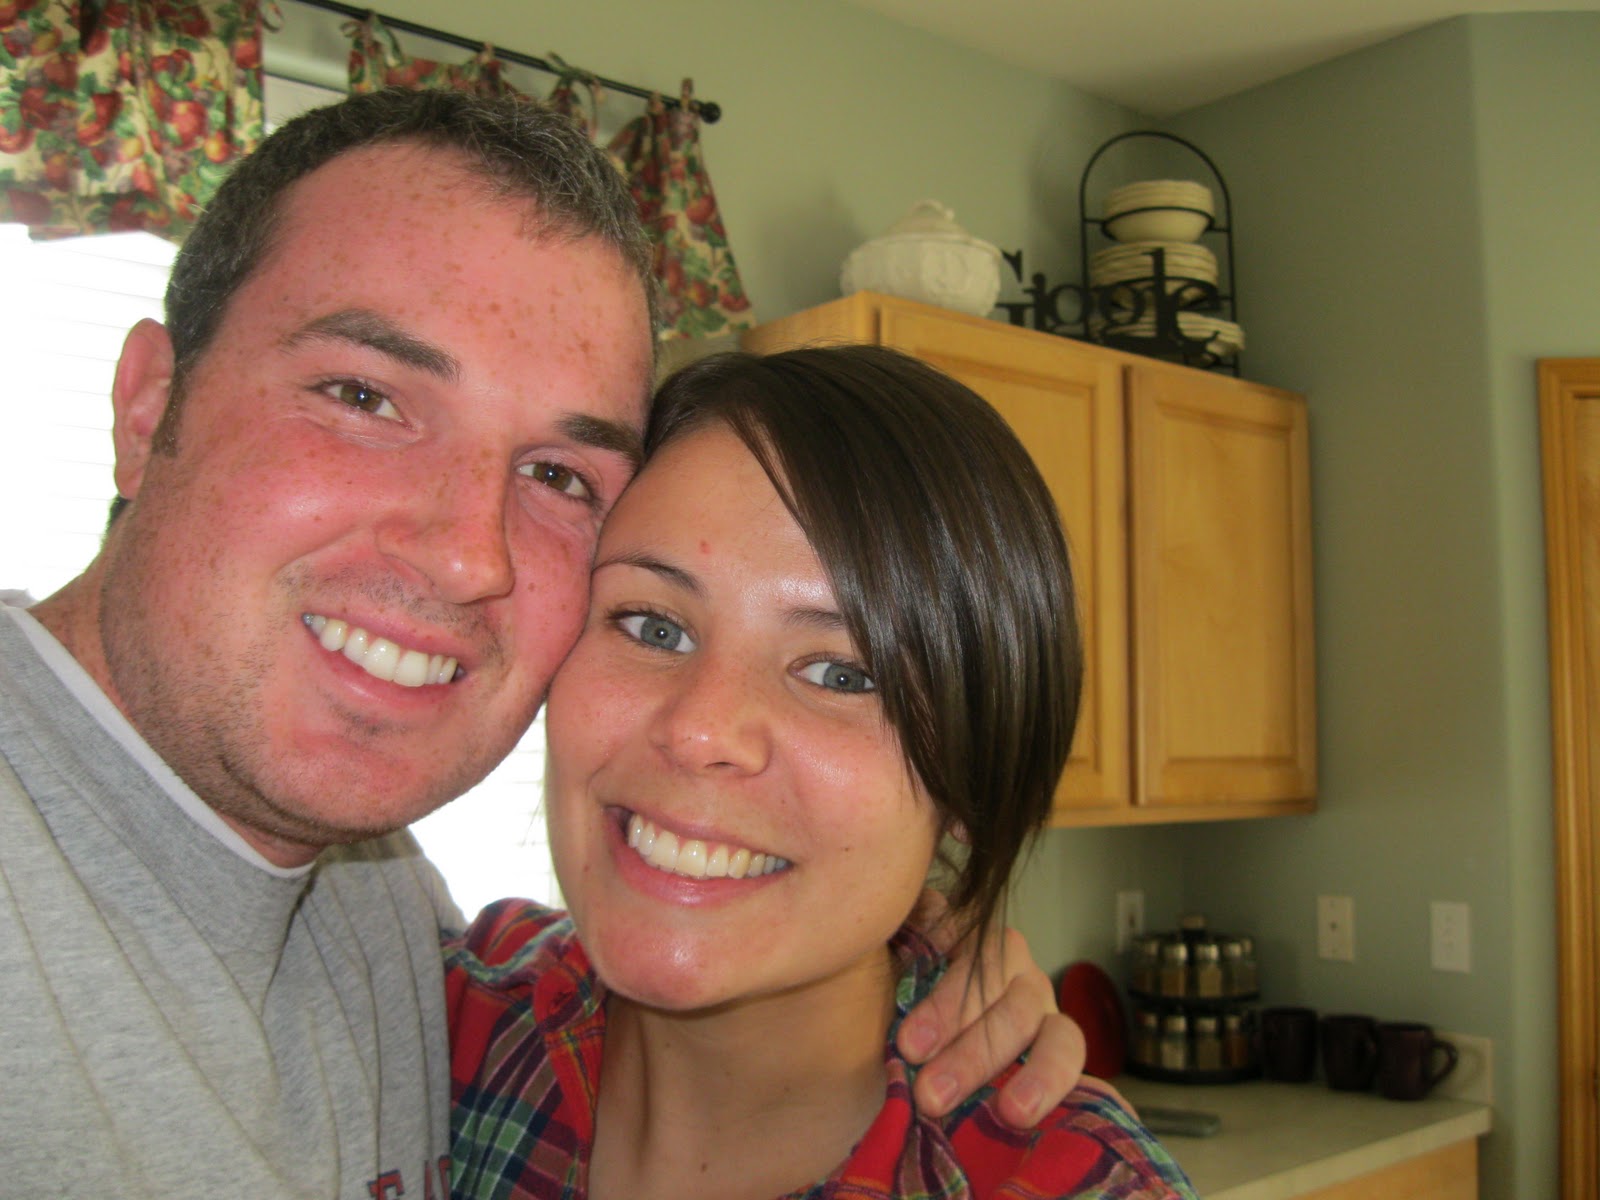
Long story short, I ended up getting engaged to my most wonderful boyfriend... errr... fiance on this night, and... I DIDN'T EVEN GET TO TASTE THESE BARS. They were eaten up before I could even finish dancing around and screaming about my ring... so they must've been good! I'll have to try these again for myself sometime, but the Bairds insist they were delicious. Here's the recipe that APPARENTLY will get you engaged:

#39: Cake Batter Blondies (as found on cookiesandcups.com... another FABULOUS Blog... she's pretty funny)

Ingredients:


  • 1 box vanilla cake mix (I used Funfetti)
  • 1/4 cup vegetable oil
  • 1 egg
  • 1/2 cup milk
  • 1/2 cup white chocolate chip
  • 1/2 cup mini marshmallows

  • For the marshmallow buttercream icing:

  • 1/2 cup butter, room temperature
  • 1/2 cup Marshmallow Fluff
  • 2 cups powdered sugar
  • 1 tablespoon milk
Directions:


1. Preheat oven to 350°


2. Prepare a 9×9 pan with baking spray.

3. In a large bowl combine cake mix, vegetable oil, egg and milk. Mix on medium low speed until the ingredients are just combined. Batter will be dense.
    - And very hard to resist eating at this stage. Be forewarned.

4. Stir in your chips and marshmallows until distributed evenly.

5. Spread in your prepared pan

6. Bake for 25 minutes until center is just set.
     - Again, I had to keep this pan in the oven just a little longer, but I think I might have gotten a little over zealous. I kept it in for an additional 20 minutes, or about 45 all together. I should've taken it out after about 40 minutes, the top was a little to browned for my taste.

Marshmallow Buttercream Frosting directions:

1. Mix butter and Fluff until smooth on medium speed until smooth.

2. Slowly add in powdered sugar with mixer on low.
     - Or it'll end up all over the counter and apron... not that I have ANY personal experience with this...

3. Add in milk and turn speed up to medium and mix until all combined and smooth.

4. Color frosting if desired.
     - I tried teal, it turned out 'dishwater green,' apparently no one noticed.

5. Spread over cooled blondies.

There you have it. Super simple, and luckily still crowd-pleasing...


The blog's photographer captured them much better than I did...


And here's my ring... in case you haven't seen it. Engagement? MISSION ACCOMPLISHED.


Tuesday, October 11, 2011

#38: Cinnamon Roll Pancakes

I love food. And people. And impressing people with food. I also love my boyfriend's family. So much so, I made them these AWESOME pancakes. Seriously, these things are a gift. Full of crunchy cinnamon sugar, cream cheesy goodness, my scale took a beating this morning when I stood on it to figure out the damage all of this weekend's delicious goodies caused (I don't wanna talk about it), but it was worth it. This one is a DEFINITE future family tradition. NOW, the real question is... how am I going to impress them after THIS recipe? Oye.

#38: Cinnamon Roll Pancakes (as found on recipegirl.com)

Ingredients:


PANCAKES:
1 cup all-purpose flour
2 teaspoons baking powder
1/2 teaspoon salt
1 cup milk
1 Tablespoon canola oil
1 large egg, lightly beaten
CINNAMON FILLING:
1/2 cup butter, melted
3/4 cup brown sugar, packed
1 Tablespoon ground cinnamon
CREAM CHEESE GLAZE:
4 Tablespoons butter
2 ounces cream cheese
3/4 cup powdered sugar
1/2 teaspoon vanilla extract
Directions:

1. Prepare pancake batter: In a medium bowl, whisk together flour, baking powder and salt. Whisk in milk, oil and egg, just until batter is moistened (a few small lumps are fine).
    - P.S. This is amazing batter on it's own. I'm going to have to try this plain sometime to see how it tastes with just syrup on top.
2. In a medium bowl, mix butter, brown sugar and cinnamon. Scoop the filling into a small zip baggie and set aside. You don't want this to remain super-liquidy. It's best if it becomes a consistency similar to toothpaste.
     - True story. I nuked the mixture for a little while in the microwave, and it ended up being too runny. When it came down to swirling the mixture in the pancake and cooking it on the griddle, the cinnamon sugar essentially just rolled off the pancake, making a mess on the skillet. Luckily it still TASTED bomb.com
3. In a medium, microwave-safe bowl- heat butter and cream cheese until melted. Whisk together until smooth; whisk in powdered sugar and vanilla extract; set aside.
4. Heat large skillet over medium-low heat. Spray with nonstick spray. Scoop about 3/4 cup batter onto the skillet. Snip the corner of your baggie of filling and squeeze a spiral of the filling onto the top of the pancake. When bubbles begin to appear on the surface, flip carefully with a thin spatula, and cook until browned on the underside, 1 to 2 minutes more. Transfer to a baking sheet or platter and keep in a warm oven until ready to serve.
     - Okay, so we didn't end up using any nonstick spray because there was already oil in the batter. I wouldn't pour 3/4 a cup on the griddle... the batter spread out pretty far, and then adding the cinnamon sugar only caused the pancake to spread out even more. I think our pancakes only ended up being like 4 inches across when we poured them on the griddle, and they turned out A LOT larger after cooking.
5. When ready to serve, spoon warmed glaze onto the top of each pancake.


YUMMY. And so stinkin' impressive. It just LOOKED gourmet. I am spoiling my friends and family... I seriously have no idea how I am going to continually top myself. Maybe they'll forgive me if I make it a tradition of making these bad boys...


That first pancake was shamefully gigantic.


Uh, yeah, you WILL keep giving me kisses if you want me to keep baking!


It's not often I get to say this, but the boyfriend looks A LOT better than I do. Ha ha, don't mind my crazy eyes... it was the sugar high...


My kind of heaven

Monday, October 3, 2011

#37: Caramel Apple Cheesecake Bars

Yeah... read that title again. CARAMEL APPLE CHEESECAKE BARS. Over the summer, combing Pinterest for new fall recipes to give a go, this JEWEL popped out at me. I love all four of those words- combine them, and I am happier than a kid in a candy store. I needed an excuse to make such a RIDICULOUSLY decadent dessert- seriously, read the ingredients list, and you might gain ten pounds on that alone- what better one than a Baird family get together? My boyfriend, being the wonderful love bug he is, decided to come home for the weekend, and for that, he deserves TREATS! ... and I always deliver!

#37: Caramel Apple Cheesecake Bars (as found at thegirlwhoateeverything.com)

Ingredients:


Crust:
2 cups all-purpose flour
1/2 cup firmly packed brown sugar
1 cup (2 sticks) butter, softened


Cheesecake Filling:
3 (8-ounce) packages cream cheese, softened
3/4 cup sugar, plus 2 tablespoons, divided
3 large eggs
1 1/2 teaspoons vanilla extract

Apples:
3 Granny Smith apples, peeled, cored and finely chopped
1/2 teaspoon ground cinnamon
1/4 teaspoon ground nutmeg

Streusel Topping:
1 cup firmly packed brown sugar
1 cup all-purpose flour
1/2 cup quick cooking oats
1/2 cup (1 stick) butter, softened 


1/2 cup caramel topping


Directions:


1. Preheat oven to 350 degrees F.

2. In a medium bowl, combine flour and brown sugar. Cut in butter with a pastry blender (or 2 forks) until mixture is crumbly. Press evenly into a 9x13 baking pan lined with heavy-duty aluminum foil. Bake 15 minutes or until lightly browned.
     - 15 minutes, my foot. It took about 30 minutes. I'm not sure if that's because my parent's oven is AWFUL, but needless to say, I was getting SUPER impatient. I was able to finish all the other steps before this crust was even close to being done.

3. In a large bowl, beat cream cheese with 3/4 cup sugar in an electric mixer at medium speed until smooth. Then add eggs, 1 at a time, and vanilla. Stir to combine. Pour over warm crust.
     - SO. MUCH. CREAM CHEESE. I am a happy girl.

4. In a small bowl, stir together chopped apples, remaining 2 tablespoons sugar, cinnamon, and nutmeg. Spoon evenly over cream cheese mixture. Sprinkle evenly with Streusel topping. Bake 40-45 minutes, or until filling is set. Drizzle with caramel topping and let cool. Serve cold and enjoy!
     - Again, the time was WAY off. I think all together, I had it in for an additional 40 minutes. Unbelievable, right?

There you have it. It was good. And gone in under four hours. Probably a new record, but so worth it. MAKE THIS. 


... and yes, the bars were gone so quickly, I couldn't get a shot of them. My apologies.

Monday, September 19, 2011

#36: Hot Chocolate Cookies with Marshmallows

I was moved to bake again thanks to my unhealthy obsession with pinterest. Having first discovered this virtual pinboard in August down in Provo, I have been finding FABULOUS desserts I felt compelled to make in the summer... but am just now getting around to ACTUALLY trying them. For instance, this summer I ran into this little gem of a recipe: Hot chocolate cookies. Now, I love hot chocolate, but I knew a woman that would appreciate them even more than I would- Midge Baird. Evidently hot chocolate is her vice, so what better way than to win her over than with sweet, sweet desserts? I am a genius. As a result, I spent this last dreary, windy, cool Saturday afternoon baking to my heart's content, and here be the finished goods:

#36: Hot Chocolate Cookies with Marshmallows (as adapted from dineanddish.net)

Ingredients:

2 sticks butter
1 cup sugar
2/3 cup brown sugar
2 eggs
1 teaspoon vanilla
3 1/4 cups flour
1/3 cup hot chocolate mix
1 teaspoon salt
1 1/4 teaspoon baking soda
2 cups mini marshmallows

Directions:

1. In a mixing bowl, cream together butter and sugars until fluffy. Add eggs and vanilla and mix until well incorporated.
     - I'm talking, STIFF PEAKS kind of fluffy. Get out those electric mixers, sugar. I have learned these guns just won't do the trick if you want super chewy cookies.

2. In a separate bowl, stir together flour, hot chocolate mix, salt and baking soda.
     - I took my own spin on the recipe at this point. I went ahead and added an additional 1/4 cup of hot chocolate mix, since the taste of chocolate was WAY too subtle... and if you know me at all, you know I am anything BUT that. Oh, and if I were to make this cookie again, I would cut the amount of salt in half. Biting into the cookies, I would catch random pockets of salt in my mouth... and that's weird.

3. Slowly add the flour mixture to the sugar mixture. Mix until well blended.
     - I broke out the electric mixer again.

4. Place by rounded teaspoon onto parchment lined baking sheets.
     - Or live dangerously like me, and DON'T use parchment. I also went ahead and put the back of a spoon to each cookie to flatten them out a bit before putting them in the oven.

5. Bake at 350 for 10 minutes or until slightly firm.
     - I did eight minutes, for the following step...

6. As soon as you remove the cookies from the oven, begin topping with marshmallows.
     - After making the magic that was my rocky road cookies, I knew I wanted to get my marshmallows a little sticky and golden, like smores, so I went ahead and took the cookies out at 8 minutes, put 4-6 marshmallows on top of each cookie, and then returned them to the oven for an additional 3 minutes.

7. After cooling for a few minutes on the baking sheet, move to wire wrack until completely cool.

There you have it. Delicious, easy... and Mothers Baird approved.

Sunday, September 18, 2011

#35: White Chocolate Macadamia Nut Cake

OH HEY! Gosh, it's been awhile since I have updated, and to be honest, a LONG TIME since I have baked. My project has turned in to a bit of a BUST, for a variety of reasons-

a) I had a personal trainer all summer and didn't lose any weight. I think this is due to the fact that I was literally consuming up to four sticks of butter a week thanks to my desserts. Needless to say, since ending my baking, my pants are fitting much more comfortably.

b) School started. This year has been MUCH LESS HECTIC, but what with a new block schedule, work out routines, and nightly skyping dates, my baking has taken a backseat.

c) I had a couple of rough recipes. I retried my snickerdoodles at Mindy's house right before I came home to the Tri-Cities for the summer, as well as my Mrs. Field's Chocolate Chip cookie recipe at home before school started, and neither turned out. Talk about a blow to my ego.

It is time to update though, because prior to my departure from Provo, I baked one last time, and the results were pretty spectacular. Considering it was my last weekend in Utah, as well as Brent's birthday, I really wanted to make a cake. The one I chose was DELISH- just like the cookie, BUT IT WAS A CAKE. Genius.

#35: White Chocolate Macadamia Nut Cake (as found in Sandra Lee's Bake Sale Cookbook)

Ingredients:

1 package (18.25 ounces) white cake mix
1 package (4-serving-size) instant white chocolate pudding and pie filling mix
2/3 cup refrigerated liquid egg whites
1/2 cup light coconut milk
1/2 cup vegetable oil
1 cup white baking chips
1 1/4 cups chopped macadamia nuts
2 containers (12 ounces each) whipped cream cheese frosting

Directions:

1. Preheat oven to 350 degrees. Spray two 8-inch round cake pans with cooking spray; set aside.

2. In a large mixing bowl, combine cake mix and pudding mix. Add egg whites, coconut milk, and oil. Beat with an electric mixer on low for 30 seconds. Scrape down the side of the bowl; beat on medium for 1 minute more. Batter will be thick. Stir in white baking chips and 1/2 cup of the chopped macadamia nuts. Spread into prepared pans.

3. Bake for 32 to 35 minutes or until a toothpick inserted near the centers comes out clean. Cool in pans.
     - Just as side note, for whatever reason, these cakes didn't rise very well. They tasted GREAT, and were fluffy enough, but they didn't rise. Hmm.

4. For macadamia nut frosting, in a medium bowl, stir together 1/2 cup of the remaining chopped macadamia nuts and one container of the cream cheese frosting.

5. To assemble, place one cake layer on a serving plate. Spread with macadamia nut frosting; top with the second cake layer. Frost entire cake with the remaining cream cheese frosting. Garnish with the remaining 1/4 cup macadamia nuts.
     - I am NOT a cake decorator, as you will soon see. My frosting was sloppy, and I was too impatient to garnish the cake, so I just stuck the remaining nuts and chips in he middle of the cake, but DANGIT! It tasted great!

So, my first attempt at a layered cake was a success. I didn't get to enjoy it very much though, as Stephen and I left the next morning to begin our voyage back to the Tri-Cities (tear). Here are some pictures we took though- sorry about the quality, we were in the middle of a candlelit dinner, complete with Kneaders sandwiches and Ghost Adventures. Sounds like my kind of heaven.


Saturday, August 13, 2011

#34: Butterscotch Crunch Squares

Yes, I think I'm slightly addicted to butterscotch these days. Prior to leaving for Utah, I was leafing through my mom's Better Homes and Gardens' cookbook, and came across this gem. Ice cream and butterscotch? How could I NOT make this dessert? Stephen thinks it actually tastes a lot like frozen caramel corn... which may sound strange, but actually is pretty phenomenal. Is this recipe family cookbook worthy? Yes. Undoubtedly yes.

#34: Butterscotch Crunch Squares (as found on the Better Homes and Gardens website bhg.com [I forgot to take down the recipe from my mom's cookbook before leaving, whoops!])

Ingredients:

1 cup all purpose flour

1/4 cup quick-cooking rolled oats
1/4
cup packed brown sugar
1/2 cup butter
1/2 cup chopped pecans or walnuts
1/2 cup butterscotch-flavored or caramel ice cream topping
1/2 gallon butter-brickle, chocolate, or vanilla ice cream
 
Directions: 

1. Preheat oven to 400 degrees F. In a medium bowl combine the flour, oats, and brown sugar. Cut in butter until mixture resembles coarse crumbs. Stir in nuts.
     - PS: I used pecans. Walnuts are boring.

2. Pat mixture lightly into an ungreased 13x9x2-inch baking pan. Bake for 10 to 15 minutes. Remove from oven. While still warm, stir nut mixture to crumble. Cool.

3. Spread half of the crumbs in a 9x9x2-inch pan; drizzle about half of the ice cream topping over crumbs in pan.
     - You all lucked out: Mrs. Richardson's makes a BUTTERSCOTCH/CARAMEL TOPPING. To die for, get it. And heads up: I ignored the 1/2 cup suggestion; instead I poured in about half of the jar of topping. So much better that way.

4. Place ice cream in a chilled medium bowl; stir to soften. Spoon softened ice cream carefully over topping-drizzled crumbs. Drizzle with remaining topping; sprinkle with the remaining crumbs. Cover and freeze at least 6 hours or until firm. Let stand at room temperature for 5 to 10 minutes before serving.
     - The ice cream I chose for this dessert is what made it: Toffee caramel swirl. It was a toffee flavored ice cream with toffee bits and caramel swirled throughout it. To die for, and so much better than, BLECK, plain vanilla.

There you have it, super easy. I kind of wish the crumble was a little sweeter, but buy a more interesting ice cream flavor, and you should be golden. Here she be:


Wednesday, August 10, 2011

#33: Blackberry and Raspberry Crisp with Gingersnap Crumble

Yeah, it's a long title for a pretty simple dessert. Coming across this recipe was an accident. After being requested to make another cobbler, since the other one I created went over so well, I scanned the internet for anything involving blackberries (if you've ever been to a frozen yogurt bar with me *cough NICHELLE cough*, you know my obsession with blackberries all too well). At first I found a recipe I thought was a winner... until I realized there was NO sugar, brown sugar, or cinnamon to be found in it. Yeah, no thanks. Luckily, I found this bad boy. A perfect combination of summer berries and autumn spices, this one will leave you wanting to pull on a big, oversized cardigan and snuggle up to your boyfriend... or at least... that's what I wanted to do?

#33: Blackberry and Raspberry Crisp with Gingersnap Crumble (as adapted from tastykitchen.com... wonderful website, I discovered it because it's affiliated with The Pioneer Woman... which, if you haven't checked that site out, do it now)

Ingredients:

FOR THE FILLING:

18 ounces, weight Fresh Blackberries
8 ounces, weight Fresh Strawberries, Hulled And Sliced (I USED RASPBERRIES... I don't really like how strawberries hold up after they've been cooked, so I swapped them out for my favorite berry)
¼ cups Granulated Sugar
¼ cups All-purpose Flour

FOR THE TOPPING:

¾ cups All-purpose Flour
⅔ cups Packed Brown Sugar
1 cup Oats
½ cups Crushed Gingersnap Cookies (about 10 Cookies)
½ teaspoons Salt
¾ teaspoons Ground Cinnamon
10 Tablespoons Unsalted Butter, Cut Into Small Pieces
Vanilla Ice Cream, To Serve

Directions:

1. Preheat oven to 375ºF. In a large bowl, gently mix together blackberries, strawberries (RASPBERRIES), sugar and flour. Pour the filling into a 9-inch ceramic or glass pie dish.
     - By the way, in the ingredients, I read the 18 ounces of blackberries and 8 ounces of strawberries as 2 cups of blackberries and 1 cup raspberries, and it turned out fine.


I love how blackberries and raspberries look together

2. In a large bowl, stir together flour, brown sugar, oats, gingersnap crumbs, salt and cinnamon. Add butter and, using your fingers, work the butter into the flour mixture to form a coarse meal. Sprinkle the topping over the berries.
     - WHOA, soooo much topping on this. I was worried I had done something wrong, but Stephen reassured me the finished product was great the way it was.


 Yep, Stephen insisted he take over smashing the gingersnaps with a hammer


Ugh, I wish you could've smelled this stuff. It smelled like Christmas!

3. Bake until the berries are bubbling thickly and the top is golden brown, 40 to 45 minutes. Check halfway through cooking and cover with foil if the top is turning too dark. Remove from the oven and let cool for 15 minutes before serving. Serve with vanilla ice cream.
    - I kept mine in for 40 minutes without any problems.

There you have it! Gosh, this treat puts me in the mood for fall leaves, apples, hot cocoa, and pumpkins, I don't know about you. The perfect transition into fall.